In the fast-paced world of technology, our smartphones have become indispensable tools for communication, productivity, and entertainment. However, even the most reliable devices are susceptible to wear and tear over time. One common issue that many mobile phone users encounter is a damaged or malfunctioning LCD Liquid Crystal Display screen. Whether it is due to accidental drops, pressure, or internal defects, a cracked or faulty LCD can severely impair your smartphone experience. However, fear not! With the right tools, knowledge, and a bit of patience, you can easily replace the LCD of your mobile phone and breathe new life into your device.
Assessing the Damage – Diagnosing LCD Issues
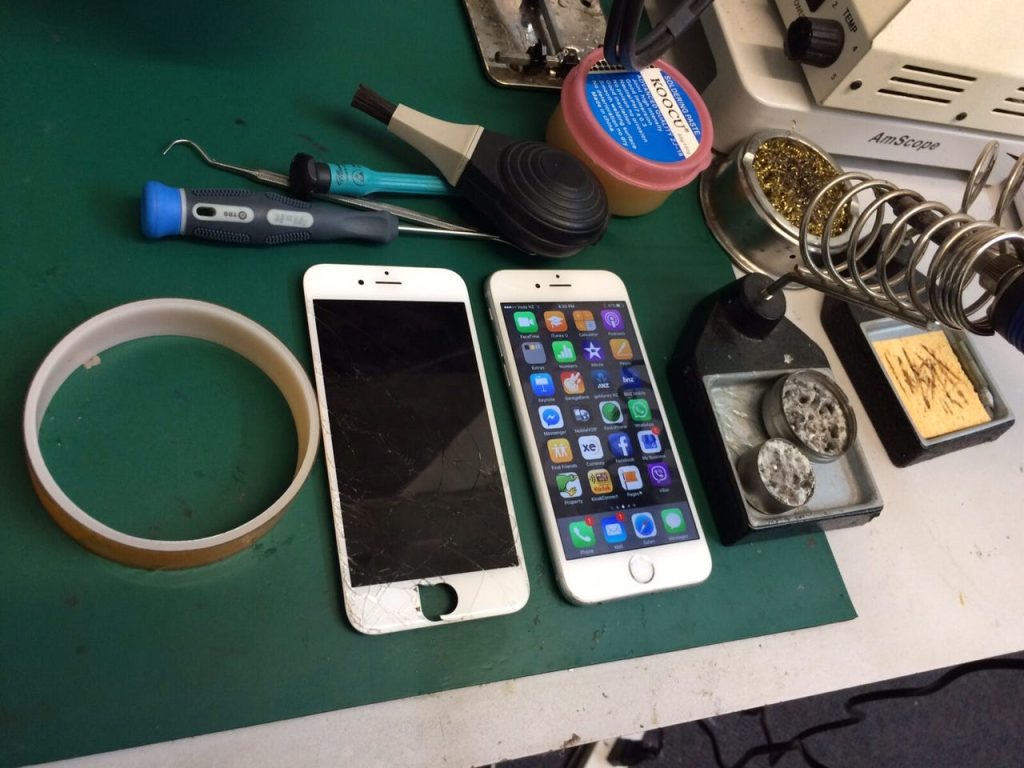
Before diving into the replacement process, it is crucial to accurately assess the extent of the damage to your mobile phone’s LCD. Symptoms of LCD issues include cracked or shattered screens, discoloration, dead pixels, flickering, or unresponsive touch functionality. Take a close look at your device to identify any visible signs of damage and ensure that the LCD is indeed the culprit behind the problem.
Gathering the Essentials – Tools and Replacement Parts
To embark on your LCD replacement journey, you will need a set of essential tools and replacement parts. These typically include a replacement LCD screen compatible with your mobile phone model, precision screwdrivers, plastic opening tools or spudgers, a heat gun or hairdryer, adhesive strips, and a clean workspace with good lighting. It is essential to use high-quality replacement parts to ensure optimal performance and compatibility with your device.
Preparation – Power off your mobile phone and remove the back cover if applicable, SIM card, and battery if removable. This step ensures safety and prevents accidental damage to internal components during the replacement process.
Disassembly – Use precision screwdrivers and plastic opening tools to carefully remove the screws and pry open the casing of your mobile phone. Take your time and exercise caution to avoid damaging delicate components.
LCD Removal – Once you have gained access to the internal components, locate and disconnect the connectors that secure the damaged LCD to the device’s logic board. Gently lift the LCD assembly from the housing, taking care not to damage the cables or other components.
Replacement – Align the new LCD screen with the housing and carefully reconnect the necessary connectors. Ensure that the screen is properly seated and aligned before proceeding.
Reassembly – Secure the casing and screws back into place, ensuring that all components are properly aligned and tightened. Use adhesive strips to secure the replacing the LCD of a mobile phone assembly if necessary.
Testing – Power on your mobile phone and test the new LCD screen to ensure that it displays images correctly, responds to touch input, and functions as expected. Make any necessary adjustments or reconnections if issues arise.
By following this comprehensive guide, you can successfully replace the LCD of your mobile phone and restore its functionality and visual clarity. Whether you are an experienced DIY enthusiast or a novice tinkerer, taking on this repair project can save you time and money compared to seeking professional assistance.